Attic Studio Renovation

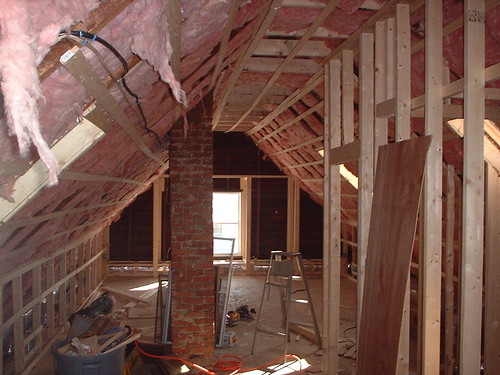
Back in 2003 I spent about $30,000 turning the attic of my 100 year old house into a beautiful studio apartment. I found these pictures while browsing my computer today.

Most of the framing and insulation was done by a contractor. I helped my uncle sheetrock the entire place. My dad and I did the painting, built the two closets, installed custom kitchen counters, and did some of the plumbing. I installed the lights, the hardwood floor, and the shower.

I lived in this studio for a few years until I moved into the partially renovated basement (where I happened to install the exact same shower). This attic studio is now rented for $750 a month.

Another wet basement weekend

I didn't post much this past weekend because on Friday morning at 7am I got a call from one of my tenants telling me their kitchen was soaked, and water was still dripping down from the apartment above. The tenant called again 2 minutes later because she felt she didn't make it sound urgent enough the first time.

I drove back to Lowell from Cambridge and sure enough, her kitchen was SOAKED. I went into the vacant unit below on the first floor -- nothing. It was dry as could be. Puzzled, I went into the partially finished basement, where I stay during the weekends. I discovered about 3" of water on the basement floor. As I walked through the water with my sandals on, the water came up to my ankles. I stood in the huge pool of water and looked over towards where my server, external hard drives, and router was plugged in -- all the power cords were partially submerged in the water... and I was standing in that same water. I realized how easily I could be electrocuted and slowly walked over to the breaker panel to turn off the main switch.

I wondered how so much water could come from the air conditioning unit on the third floor without making the first floor wet at all. As I stood there assessing the damage, I heard a dripping sound coming from the other side of the basement, near the hot water tanks. Come to find out, one of the three hot water tanks had eroded and was leaking water! It must have started earlier in the week because mold was already starting to form on the carpet and desk where my computer equipment was!

After paying $95 to have the A/C system fixed, I looked in the phone book (well actually, yellowpages.com on my Blackberry) for plumbing companies. I called 5 numbers, only one person answered. He came over with his girlfriend (or wife?), who surprisingly helped him with most of the work and knew the names of all the tools and fittings (I'm not being sexist, she just didn't look like someone who would know anything about plumbing). Within an hour he had the hot water tank disconnected and the water was turned back on. Looking around at how much stuff had been ruined by the water, I knew how the rest of my weekend would be spent.

With Sitha's help, we managed to clean the entire basement over the weekend, the first real cleaning it's had in two years. The A/C issue that was supposed to have been fixed on Friday morning was not fixed at all and I had to have an on-call A/C tech come back Saturday morning. He explained how the installation techs who install the systems don't understand what kind of access is needed to service those systems. He said if anything major happens to the system, I'll have to tear apart the bathroom walls just to gain access to the A/C unit (the unit is inside an attic crawl space of the finished attic).

After 8 years, I'm finally getting tired of the nuisances that come with living in basements or attics. This weekend I'll be moving into a second floor apartment in Cambridge, inside the same building I'm currently in, but with 5 huge windows and plenty of light. I will be quite an experience and I'm looking forward to it.

Adding Power and Lights to my Shed

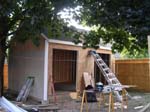
I needed light in my shed and the only way I would be satisfied was if I had real lights, not those dim battery operated ones. Besides, I know having an outlet in the shed to plug things into would be very helpful. I already ran the wire to my door when I installed the outside light, so all I needed to do was get the power 12 feet away to my shed.

First I dug a 14" deep trench between my basement door and shed (sorry, no pics of the trench 🙁 the line in the sand shows where the trench was). Inside that trench I laid metal conduit with an outdoor 12/2 wire inside. Since I might build a summer house next spring, I figured I would take advantage of running the wire and add a CAT5 Ethernet cable along side the power cable. I'm not sure how the power cable will effect the data running on the CAT5 cable, but I had extra CAT5 cable laying around so I ran it anyway.

I used flexible conduit at the basement door and where the wire comes up from the trench into the shed.

After adding a junction box to the ceiling of the basement entrance (power in on the top, on the bottom one wire to outside light, one wire to shed), I added a junction box inside the shed where the wire comes in. I'm going to be adding an outlet later and having the junction box right there will make that a lot easier. I then ran power up to a switch and from the switch up to the florescent light. The switch will control two lights, but I'm only attaching one light for now. I ran the wire for the second light but just wrapped the end with electrical tape.

Once I attached and wired the florescent light to the ceiling joists of the shed, I turned on the breaker in my basement and flipped the switch in the shed.

Building a shed from scratch

Building a 12'x16' shed from scratchThis project, like the basement project, started in 2004 when I began digging out the dirt from my basement. I realized I had no place to store everything that was in the basement and the old 8'x6' shed in my backyard was already full of stuff (and not very organized I might add), so I really had no where to store anything. Since I started purchasing investment properties and maintaining them myself, my collection of tools grew. I realized I needed a nice big area in which to organize and store everything. As usual, I looked into what I could build to fix that problem. Continue reading

Renovating a 100 year old basement


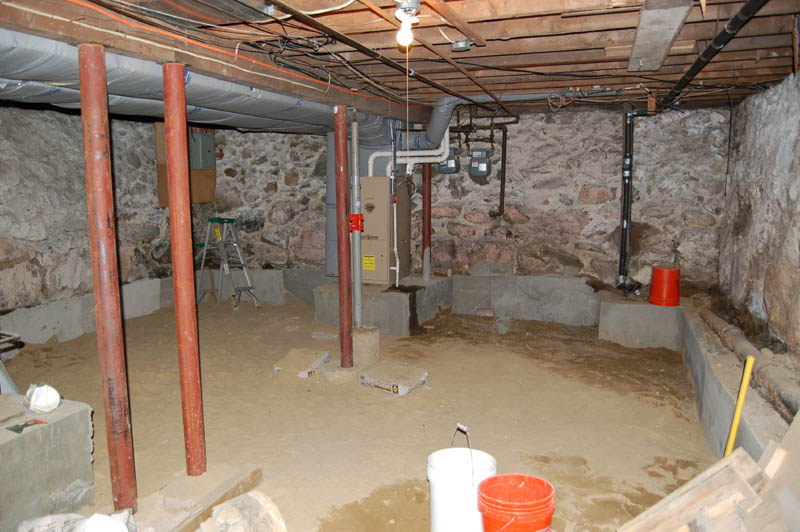
The basement of my two-family house started with a dirt floor and approximately 6′ of clearance from the dirt to the first floor rafters. Some of the pipes made the clearance even less. I decided that I wanted to make the basement into a livable area, however that would only be possible with a concrete floor. I also realized that if I wanted to put in a ceiling, I would need at least another 2′ of clearance. The first shovel full of dirt was removed in 2004. I had planned on completing the basement that year, however I had no idea how much work would be involved. Continue reading